Which Talismans Lead the Elden Ring Talismans Tier List?
Compare Elden Ring talismans by build impact, consistency, opportunity cost, and value across exploration, bosses, and New Game Plus.
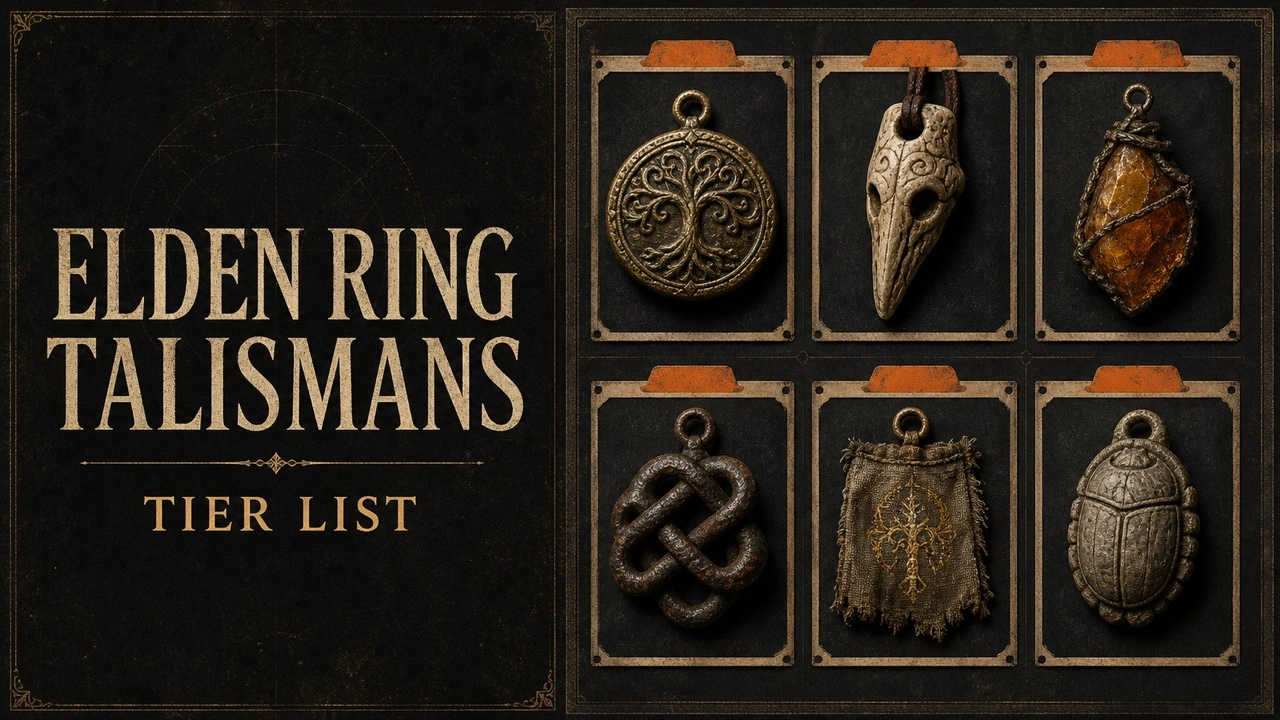
Talismans are powerful because they change what a build can do without asking for another weapon level. One slot can lift skill damage, make heavy armor practical, or stop a physical boss from ending a run in two hits. The hard part is deciding whether a large bonus on paper will stay active in the fights that matter.
Which Talismans Belong in the Elden Ring Tier List?
Shard of Alexander, Dragoncrest Greatshield Talisman, and Erdtree’s Favor +2 lead the list. Each solves a common problem with little setup: stronger weapon skills, better physical survival, or more health, stamina, and equip load. Lord of Blood’s Exultation and Rotten Winged Sword Insignia can match them, but only when the build triggers their bonuses often.
This ranking covers broad PvE value. It gives extra credit to talismans that remain useful across areas, bosses, and New Game Plus. Build-specific choices still matter, so a bleed, jump-attack, charged-skill, or sorcery setup should promote the matching specialist when its condition is reliable.
How were these rankings decided?
The list measures Elden Ring talismans for players choosing a dependable loadout for exploration, difficult bosses, or New Game Plus. Its main rule is overall PvE usefulness across normal play, with speedrun routes, damage showcases, and challenge builds scored separately. Each entry is checked against the four topic-specific standards below.
Build impact
A strong talisman should create a meaningful improvement in damage, durability, stamina economy, or equipment flexibility.
Consistency
Always-active benefits rank above bonuses that need a rare status trigger, a narrow health window, or a long uninterrupted combo.
Opportunity cost
Every slot matters. A talisman must outperform realistic alternatives without merely producing a positive number.
Breadth
Options that help several weapons, areas, and bosses receive more credit than choices built for a single encounter.
Why does each choice belong in its tier?
Why is S tier placed here?
These choices provide exceptional value with little setup. Shard of Alexander transforms weapon-skill damage, Dragoncrest Greatshield offers powerful physical protection in PvE, and Erdtree’s Favor +2 improves three resources that nearly every character uses.
Entries: Shard of Alexander, Dragoncrest Greatshield Talisman, Erdtree’s Favor +2.
Why is A tier placed here?
A-tier talismans can match S-tier output when the build activates them reliably. They reward bleed, repeated attacks, or aggressive stamina use, but their value depends more heavily on playstyle and matchup.
Entries: Lord of Blood’s Exultation, Rotten Winged Sword Insignia, Two-Headed Turtle Talisman.
Why is B tier placed here?
These are excellent specialist tools. Charged skills, jump attacks, and sorcery-focused loadouts gain obvious benefits, while unrelated builds receive almost nothing from the same slot.
Entries: Godfrey Icon, Claw Talisman, Graven-Mass Talisman.
Why is C tier placed here?
C-tier options are useful at a particular stage or for a particular task. Radagon’s Soreseal is attractive early but its damage penalty becomes costly later, Gold Scarab is for rune farming, and the dagger depends on critical-hit access.
Entries: Radagon’s Soreseal, Gold Scarab, Assassin’s Crimson Dagger.
Why is D tier placed here?
These have very narrow or deliberately negative effects. They may support a challenge, collection goal, or unusual route, but they should not occupy a normal combat slot.
Entries: Longtail Cat Talisman, Daedicar’s Woe, Crucible Knot Talisman.
Which talismans change the most builds?
Shard of Alexander is the clearest offensive leader for characters that use Ashes of War as a normal part of combat. Its value is easy to feel because it improves a tool many weapons already want to press. Dragoncrest Greatshield is the defensive counterpart in PvE. It can turn a narrow healing window into a survivable mistake, although its player-versus-player value is reduced.
Erdtree’s Favor +2 is less dramatic, but all three of its resources matter. Extra equip load can reach a useful armor or roll threshold, stamina helps both attacking and avoiding damage, and health gives every flask more room to work. That combined flexibility is why it stays above many larger single-purpose bonuses.
When do specialist talismans deserve S tier?
A specialist belongs at the top when its trigger is part of the build’s normal loop. Lord of Blood’s Exultation is outstanding when bleed happens quickly and the target is not immune. Rotten Winged Sword Insignia is excellent for fast weapons that can keep a chain alive. Godfrey Icon deserves a major rise when charged spells or skills supply most of the damage.
The same item should move down when the condition disappears. A bleed bonus does nothing against an immune target. A repeated-hit bonus loses value during short punish windows. The right test is not the maximum number shown in a showcase. It is how often that number appears during a full area or boss attempt.
Which talismans are easy to overrate?
Radagon’s Soreseal can feel unbeatable early because twenty combined attribute points solve several requirements at once. Its incoming-damage penalty becomes harder to justify later, when a leveled character gains less from those virtual stats. Gold Scarab is another common mix-up. It is excellent for rune farming, but it should not displace a combat talisman during a difficult fight.
Utility pieces are best treated as swaps. Equip the scarab before a farming route, a resistance talisman before the matching damage type, or a critical-heal talisman in an area built around backstabs. A flexible inventory is stronger than one fixed set of four slots.
What can distort an Elden Ring talisman ranking?
- Treating the largest damage screenshot as proof of the best all-purpose talisman.
- Ignoring whether the effect is active during the boss or area being ranked.
- Keeping early-game stat talismans equipped after their incoming-damage penalty becomes more important.
- Comparing a farming tool such as Gold Scarab directly with a combat talisman.
What could change these talisman placements?
Balance patches, new equipment, and expansion interactions can change the best pairing. Recheck exact values in the current game version before optimizing a competitive challenge or a tightly tuned damage setup.
Turn this Elden Ring talismans ranking into a personal board for players choosing a dependable loadout for exploration, difficult bosses, or New Game Plus with the free RespawnGuide tier list maker. If letter grades hide an important difference, choose descriptive tier labels that state this topic’s scoring rule clearly.
What are the most common questions?
Is Shard of Alexander the best Elden Ring talisman?
It is one of the strongest general choices for builds that use weapon skills frequently. A spell-only, guard-focused, or status-triggered build may gain more from another talisman.
Why is Radagon’s Soreseal not in S tier?
Its early stat gain is valuable, but the increased damage taken becomes a serious tradeoff as character levels and enemy damage rise.
Should every build use the same four talismans?
No. Start with one or two dependable choices, then use the remaining slots to support the weapon, damage type, defenses, and encounter in front of you.
Which talisman should you equip first?
Start with Shard of Alexander if weapon skills drive the build, Dragoncrest Greatshield if physical survival is the problem, or Erdtree’s Favor +2 when equipment thresholds are tight. Fill the remaining slots with bonuses your normal attacks can activate. A smaller effect that works through the entire fight is usually worth more than a huge bonus that appears once.